Tutorial: Private Javascript Libraries Using Github Repositories
Hello friend,
This is the first tutorial I’m making. In my indie making journey, I use the stack I know best because my focus is not on technology, but rather on shipping the product as fast as possible. That’s why this approach makes sense for me. I hope this tutorial helps you as well.
I have to say, this approach feels a bit sketchy, but it’s actually really useful if you build multiple side projects or personal projects. You don’t want to repeat yourself or copy-paste code across multiple projects.
This might be a solution if you don’t want to publish a public npm package, and also private packages require a monthly subscription. To avoid that, this might be a good fit.
The purpose of this tutorial is to showcase how you can create a private repository on Github to store your utility Javascript functions and apply the changes using npm in a sample app.
Requirements
The requirements list is minimal. You need:
- Basic understanding of Javascript, Node.js, npm, Express.js
- A Github account
- Node and npm installed on your machine (I use Node 18, but I’m pretty sure you can use almost any Node and npm version)
- A code editor (I use Cursor)
- Terminal and git
Let’s get our hands dirty
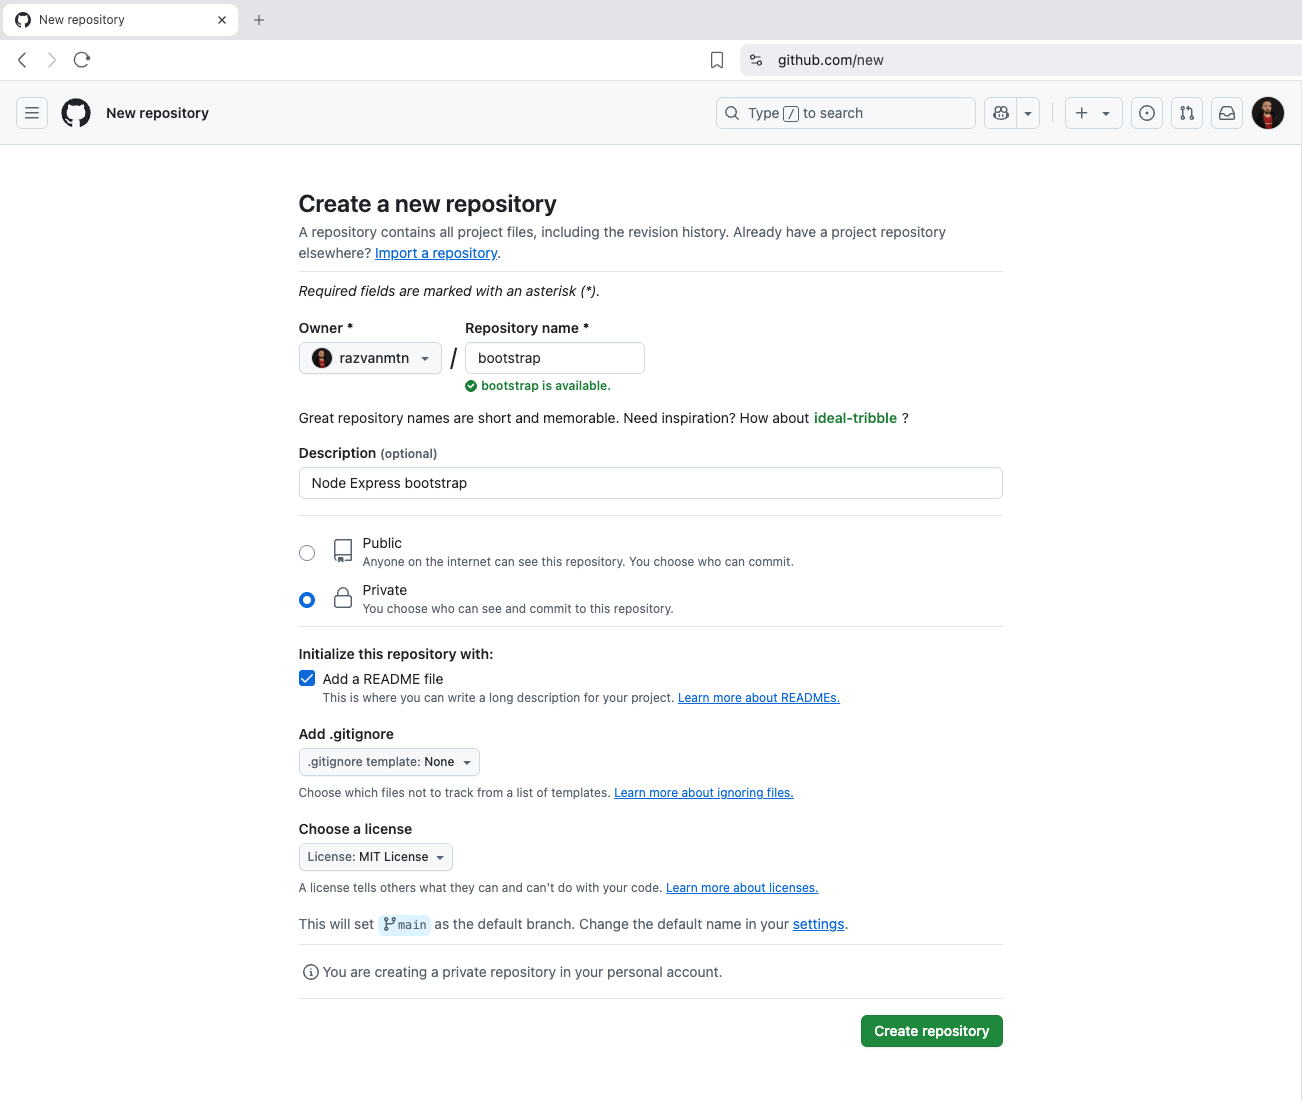
Let’s start by creating a Github repository. Go to github.com and login if you didn’t do that already:

Fill in the name you want. I’ve named mine bootstrap. My private repository is ready.
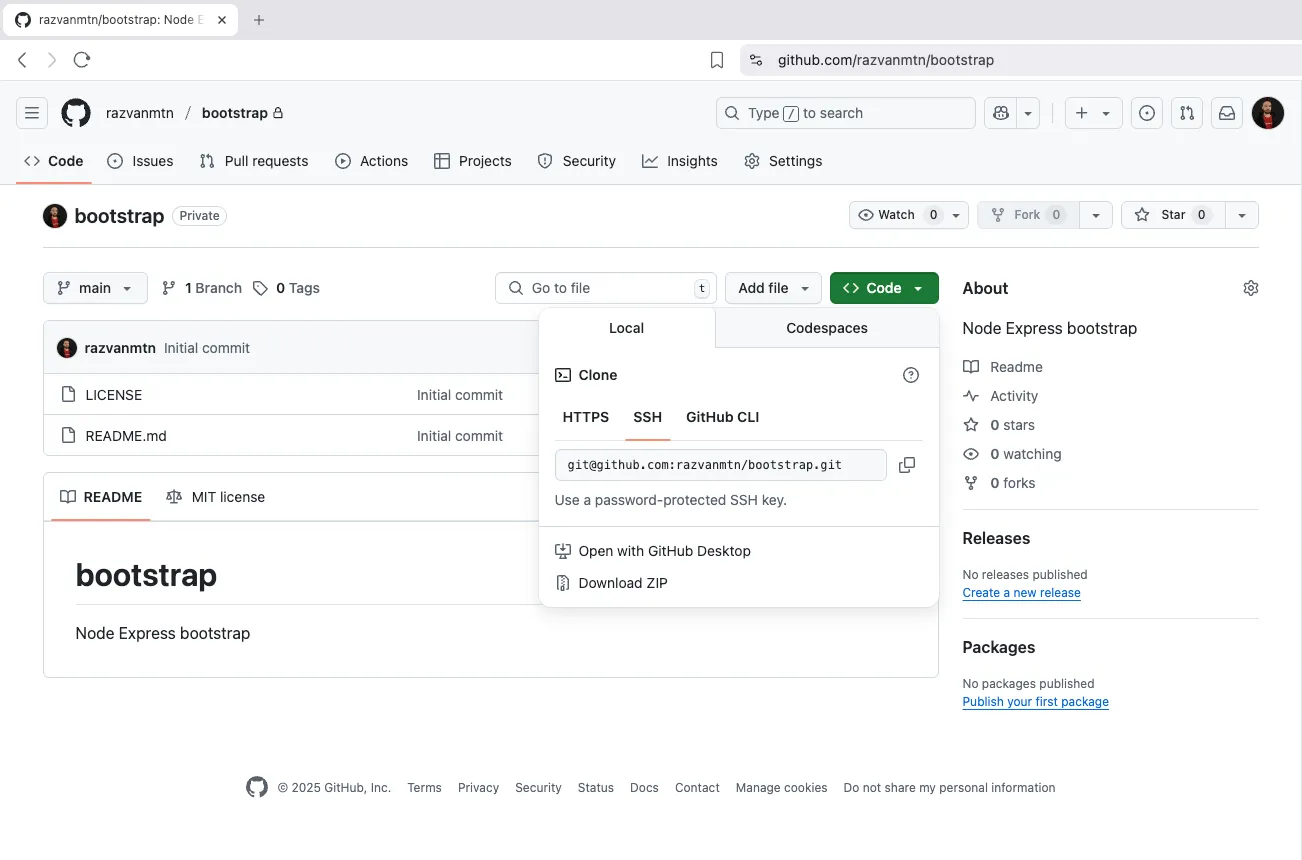
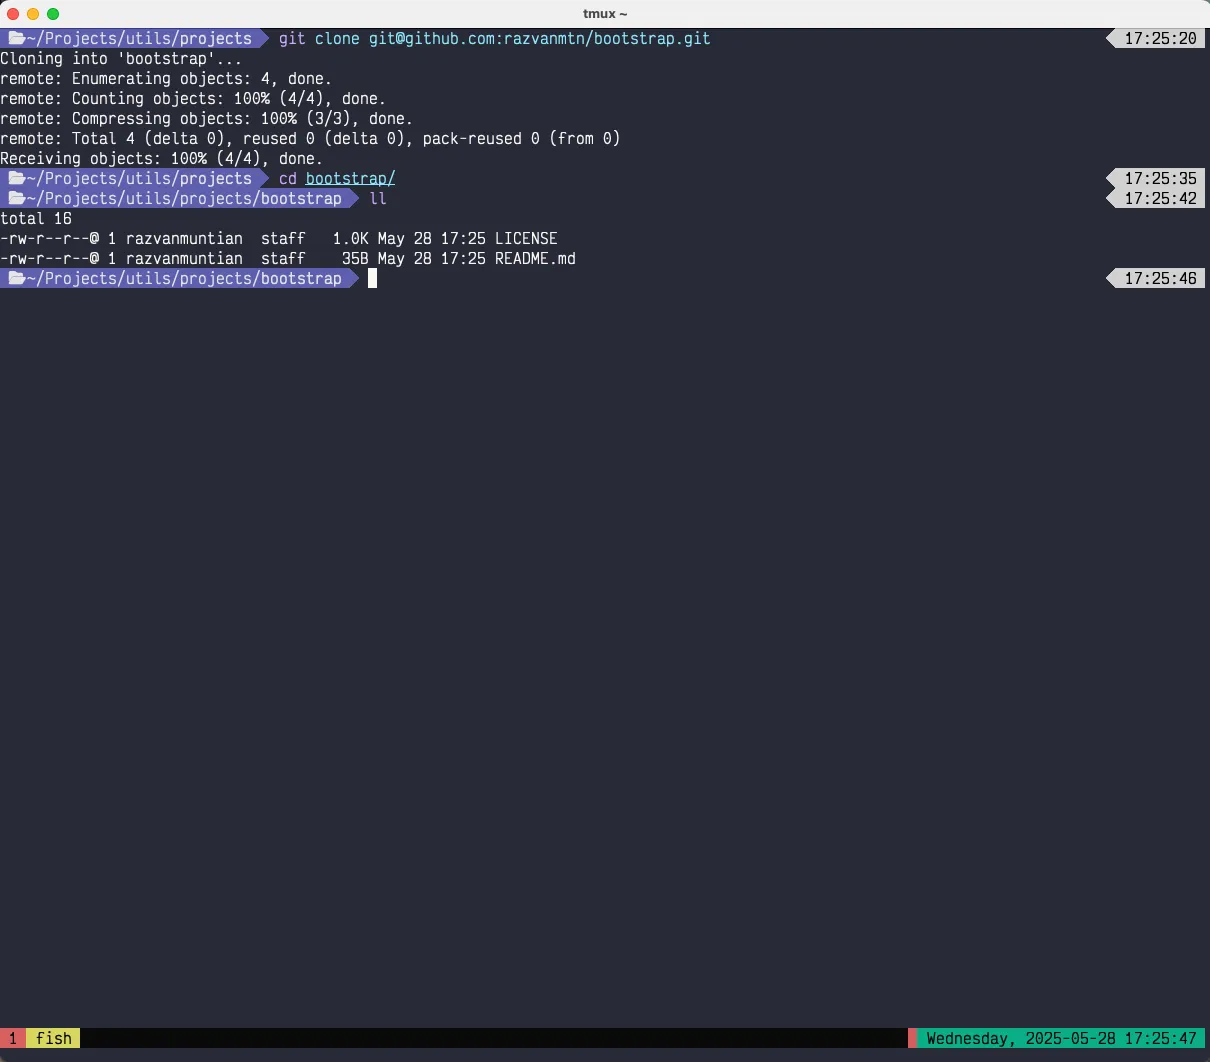
Now let’s clone the repository locally.
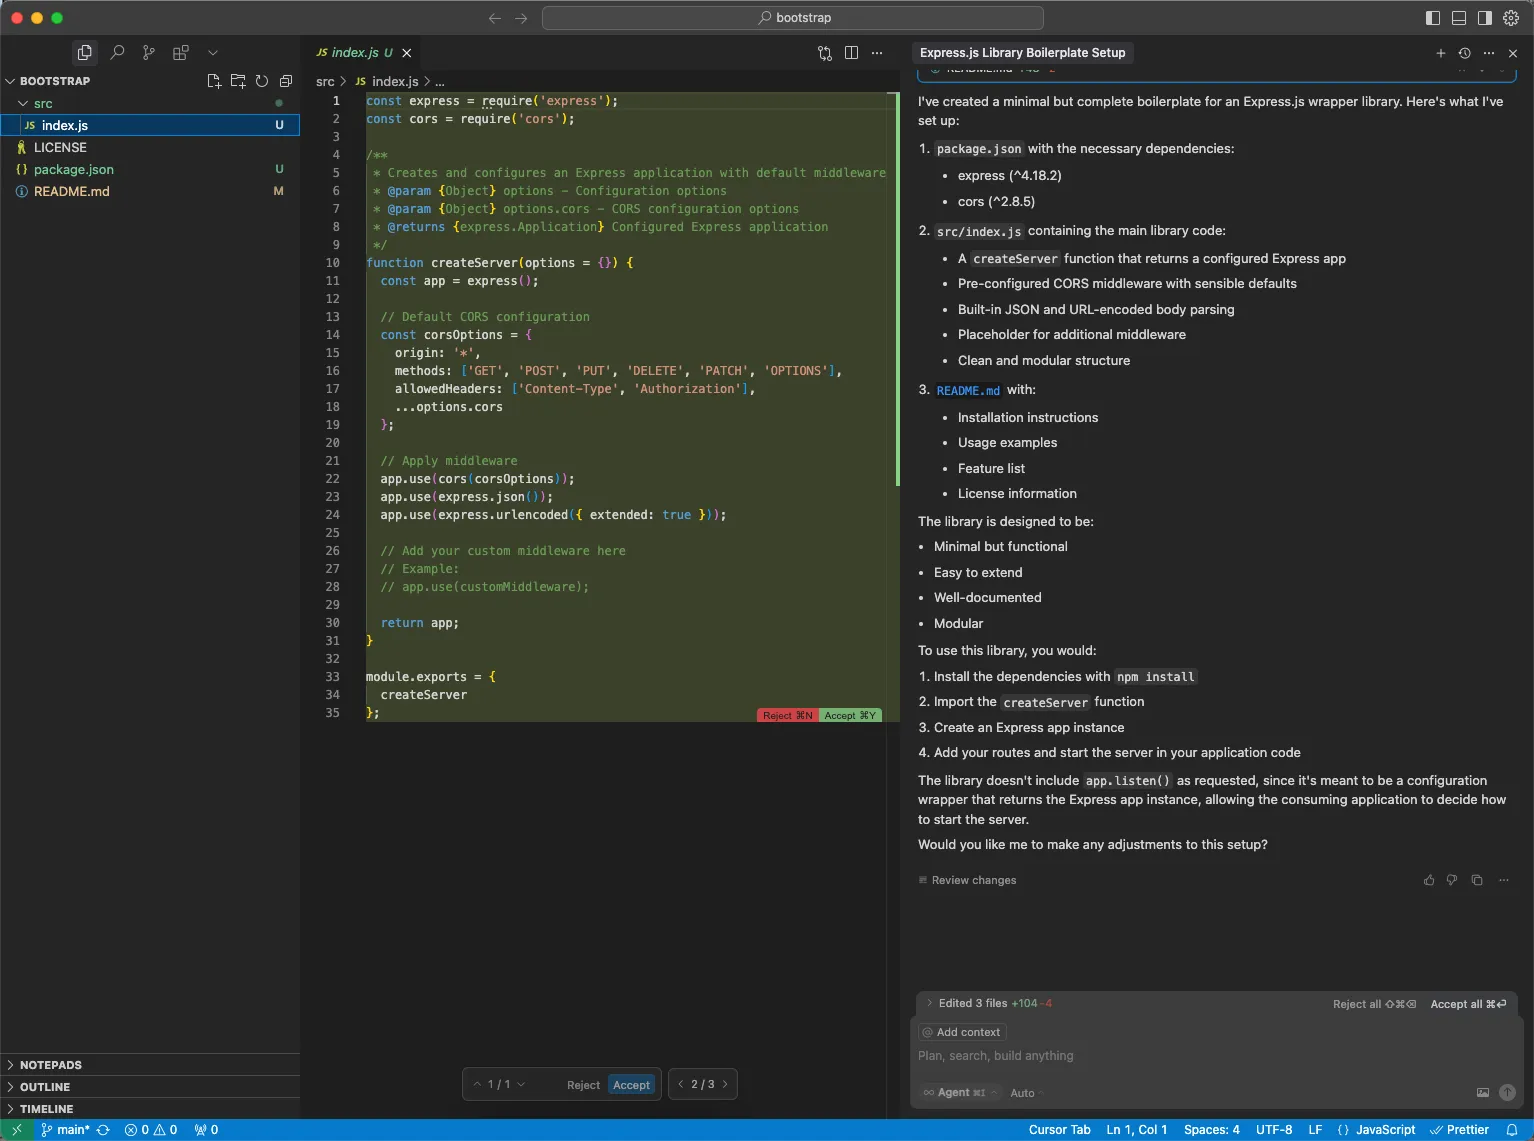
Let’s write some code, or let Cursor do its job maybe.
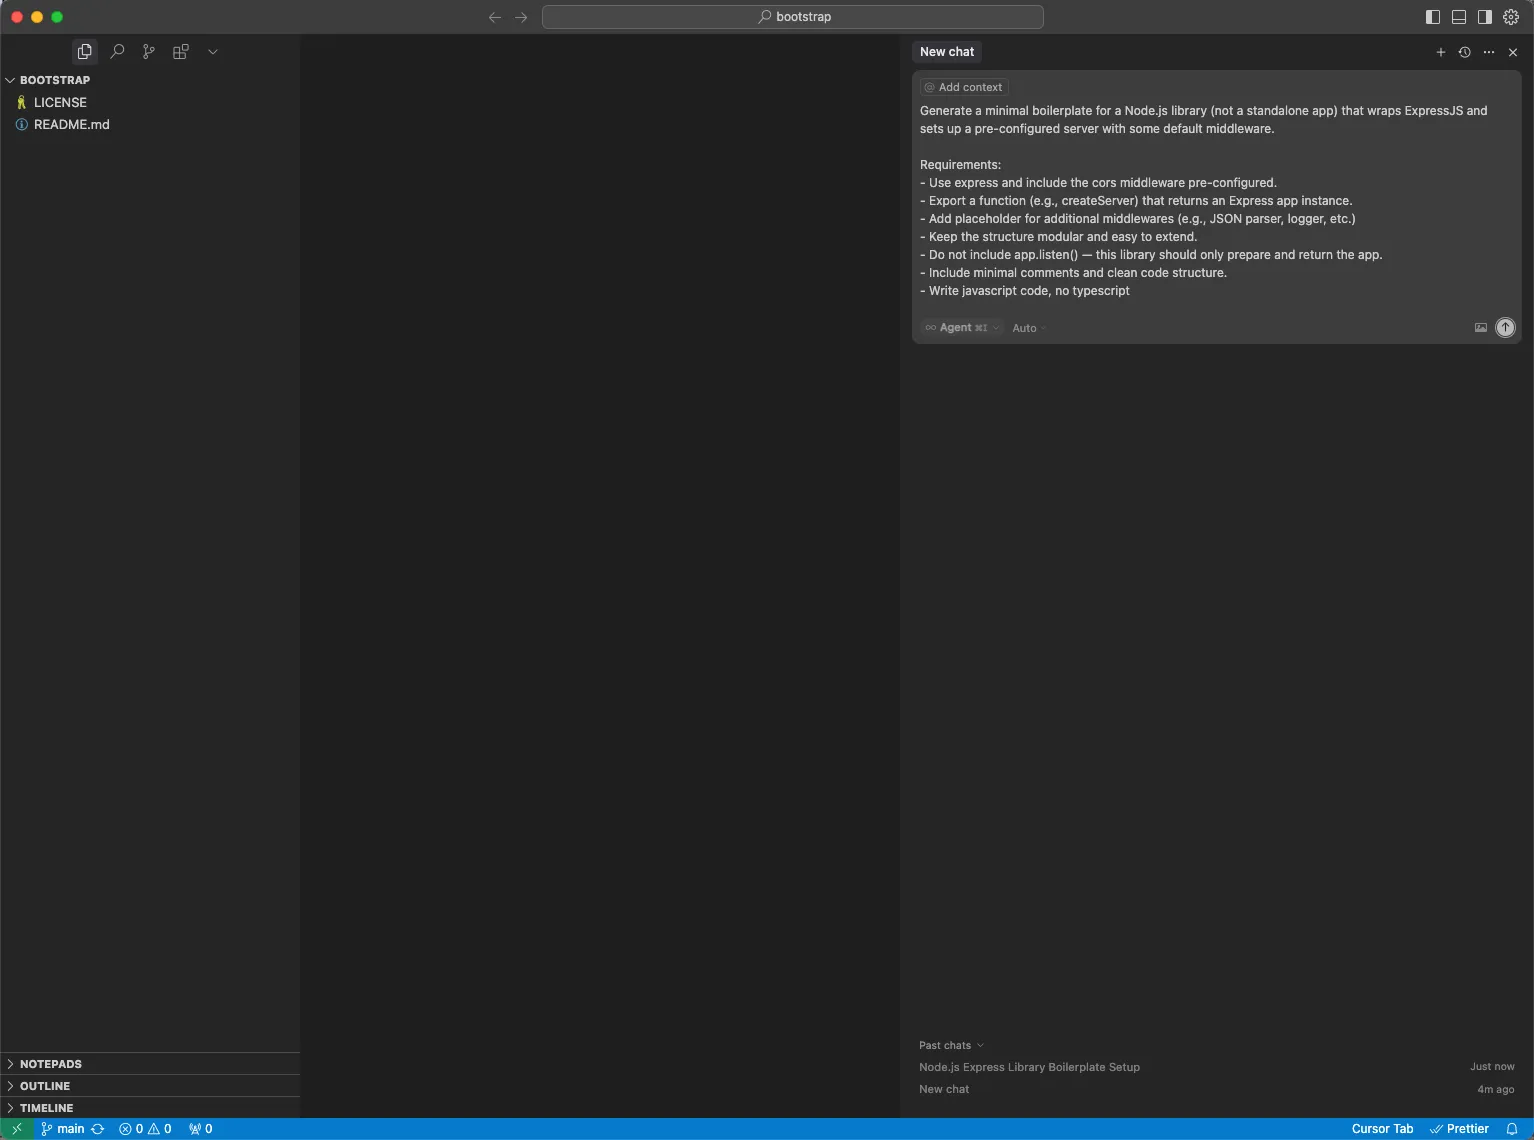
This is the prompt I’m using, in case you want to use it:
Generate a minimal boilerplate for a Node.js library (not a standalone app) that wraps ExpressJS and sets up a pre-configured server with some default middleware.

Requirements:
- Use express and include the cors middleware pre-configured.
- Export a function (e.g., createServer) that returns an Express app instance.
- Add placeholder for additional middlewares (e.g., JSON parser, logger, etc.)
- Keep the structure modular and easy to extend.
- Do not include app.listen() — this library should only prepare and return the app.
- Include minimal comments and clean code structure.
- Write javascript code, no typescript
Important mention: I want Cursor to generate Javascript, not Typescript because I don’t want to deal with a build process. As I’ve said at the beginning, this method is a quick and dirty way to share code across multiple projects. If you want to cover some advanced cases, maybe you should setup a library with CI/CD and a private npm repository for that.
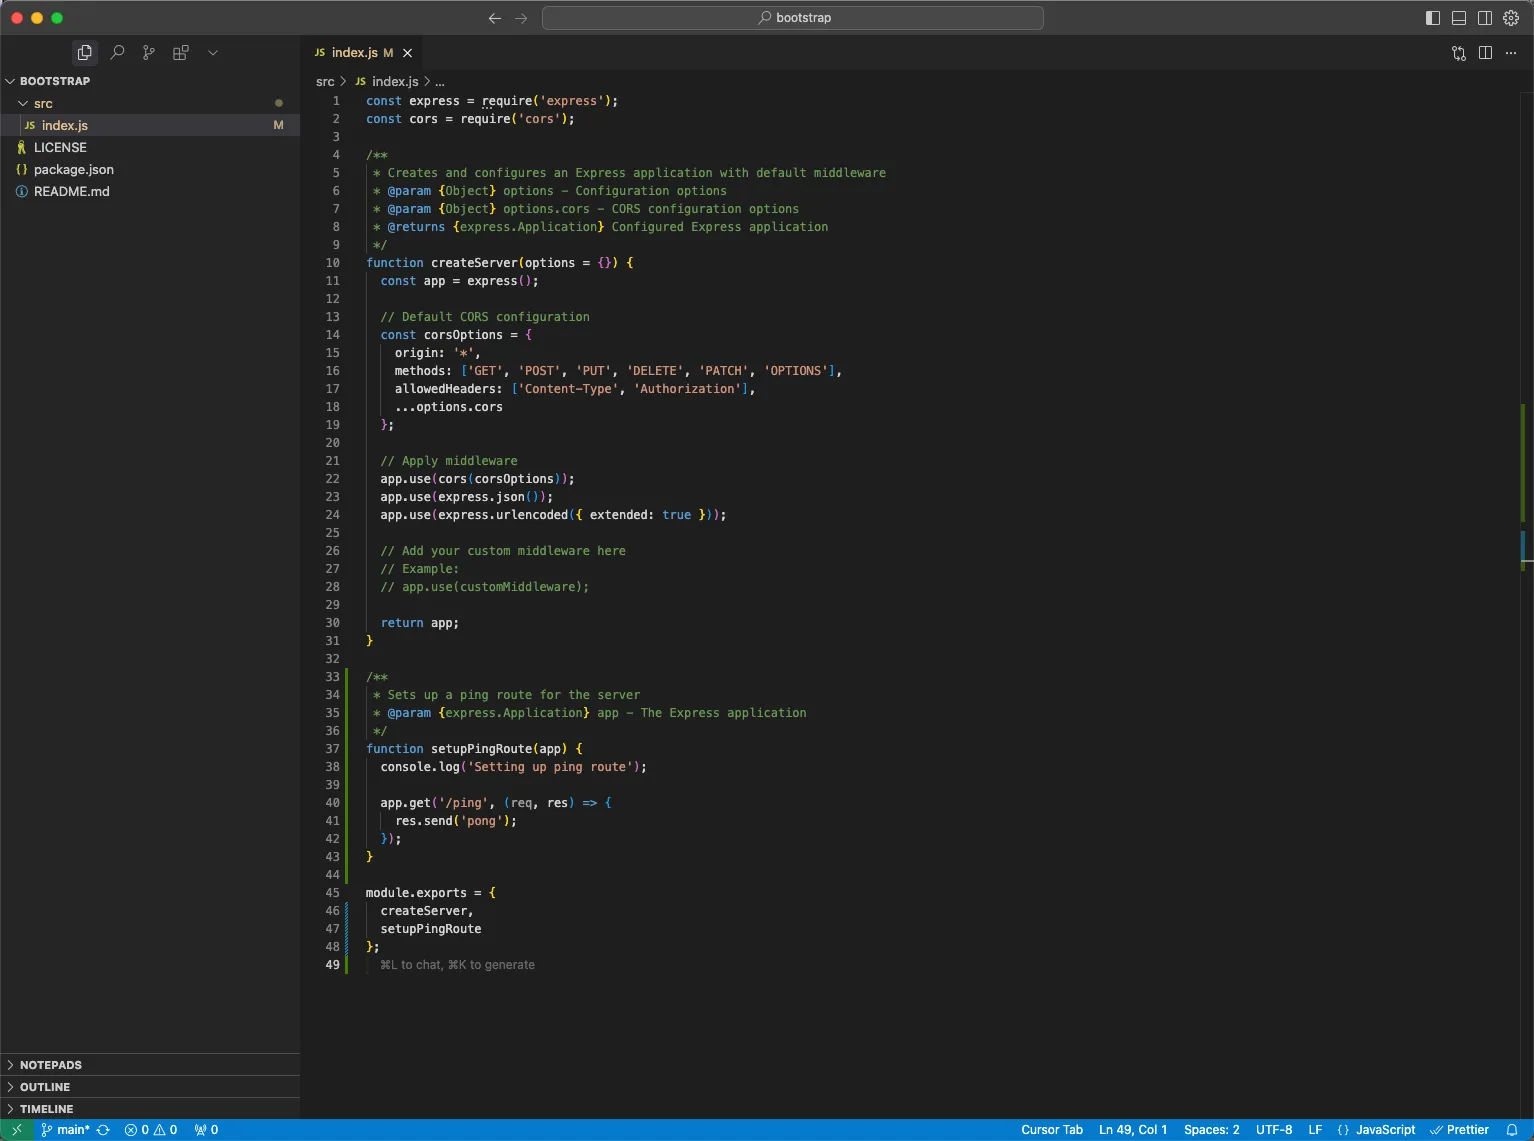
This is what Cursor generated. Review the code, make changes, or keep adding features or libraries you want in your bootstrap library.
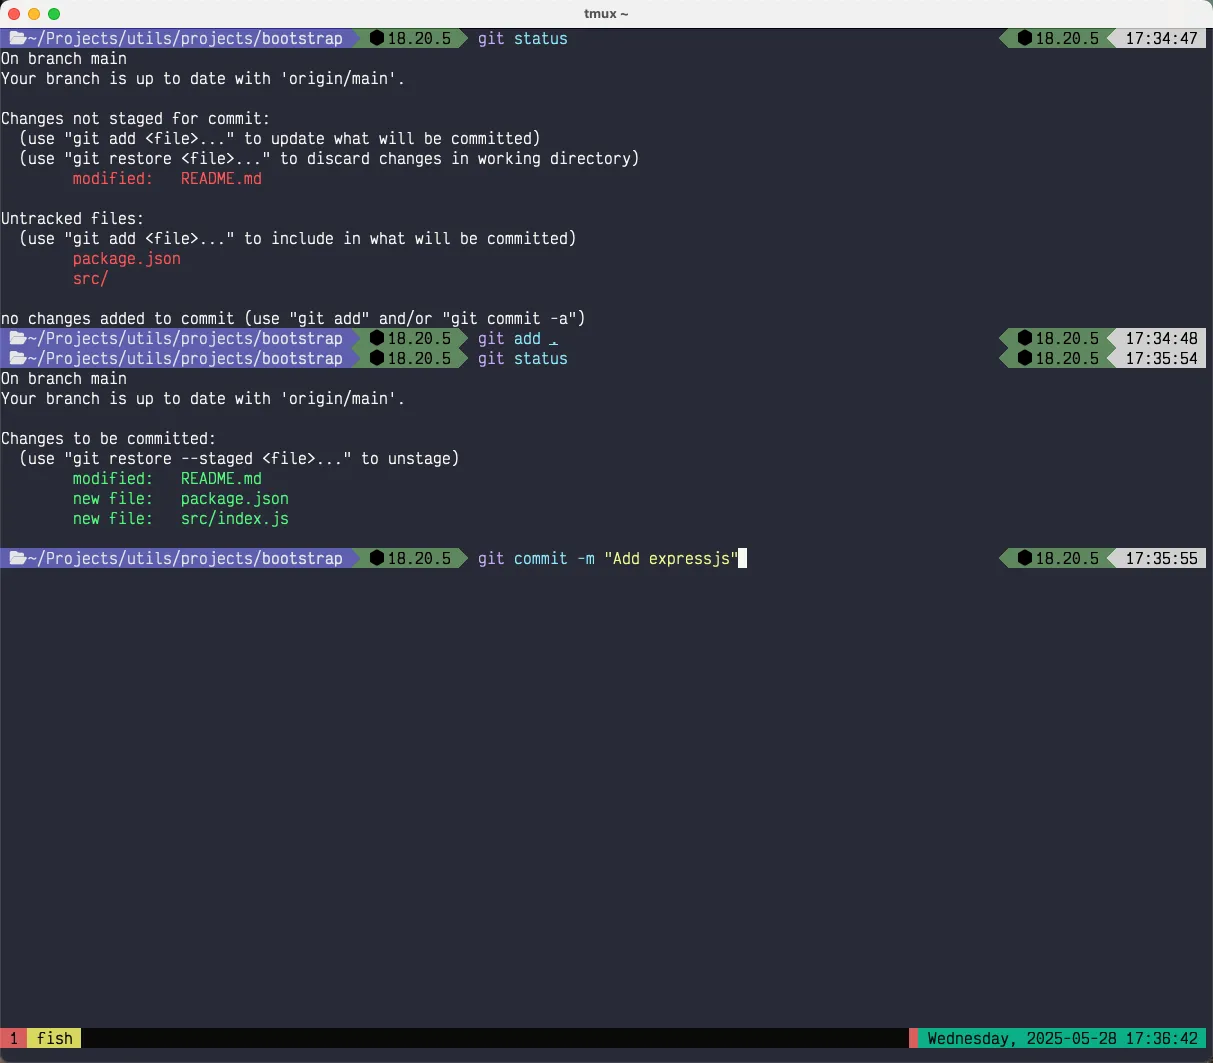
I’ve reviewed the code. Now let’s commit and push the changes to Github.
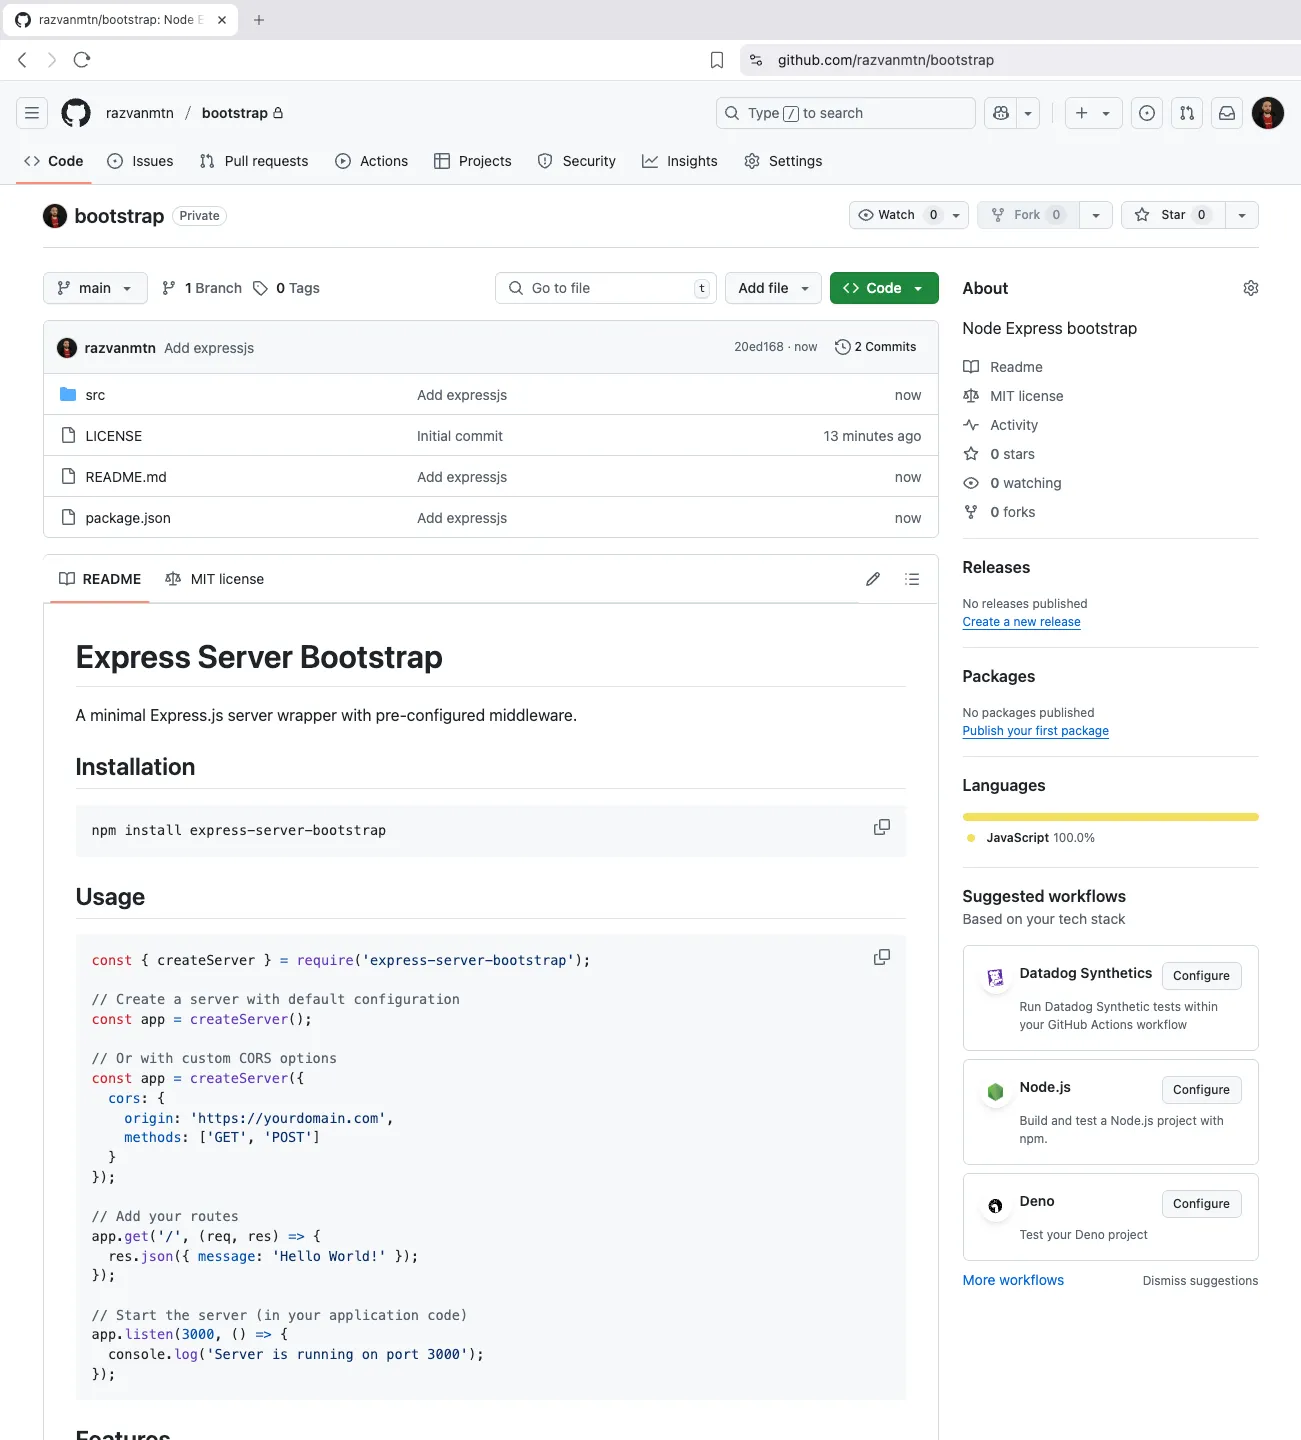
The code is on Github. The URL to my private repository is https://github.com/razvanmtn/bootstrap.
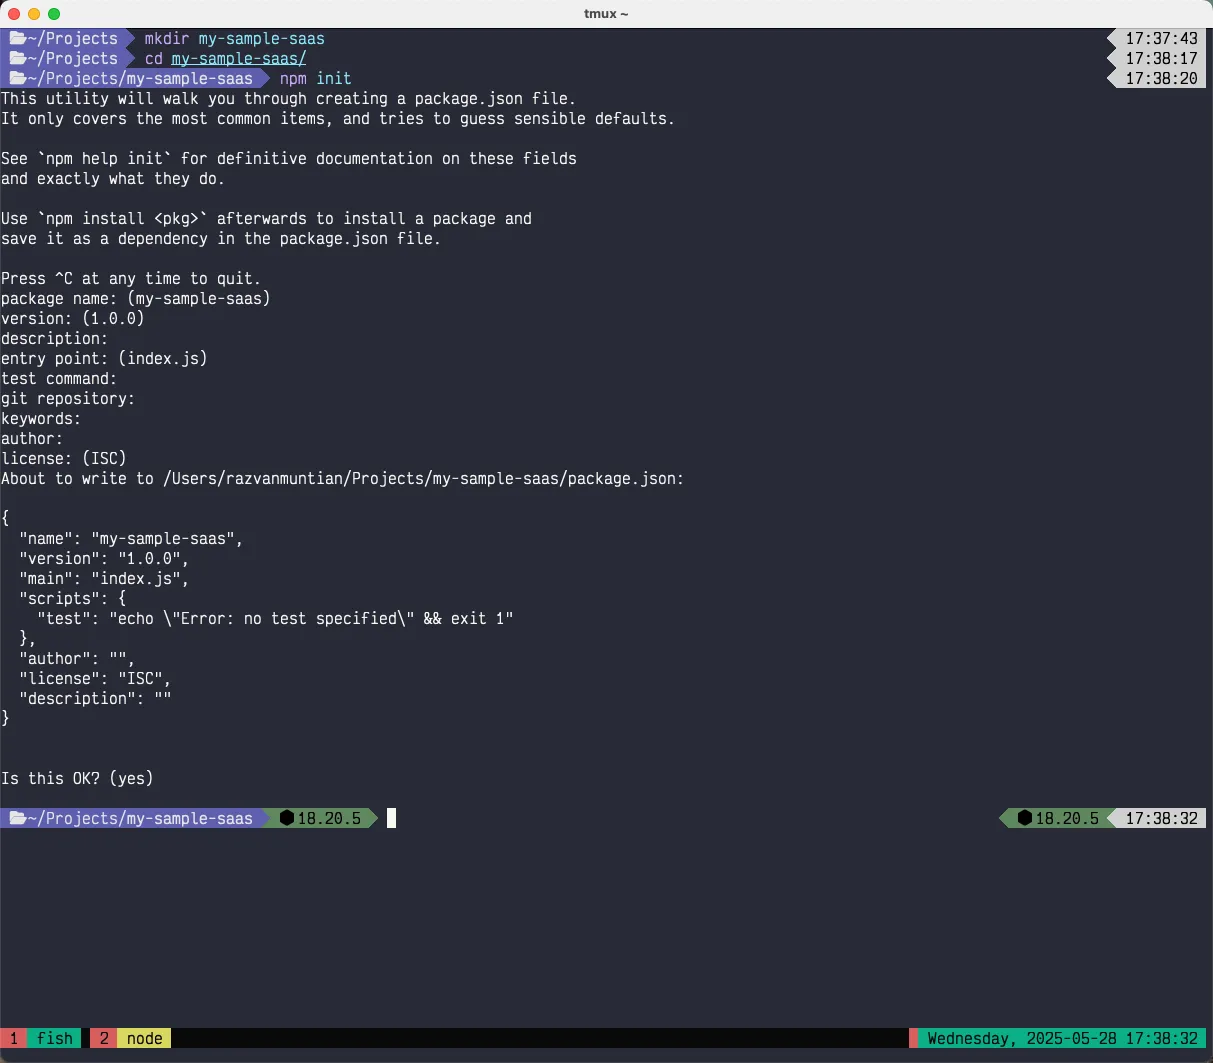
Now that the library repository is ready, let’s create a sample app that uses the library app we’ve just created. I’ve created a new folder called my-sample-saas. Let’s initialize the project by running npm init.
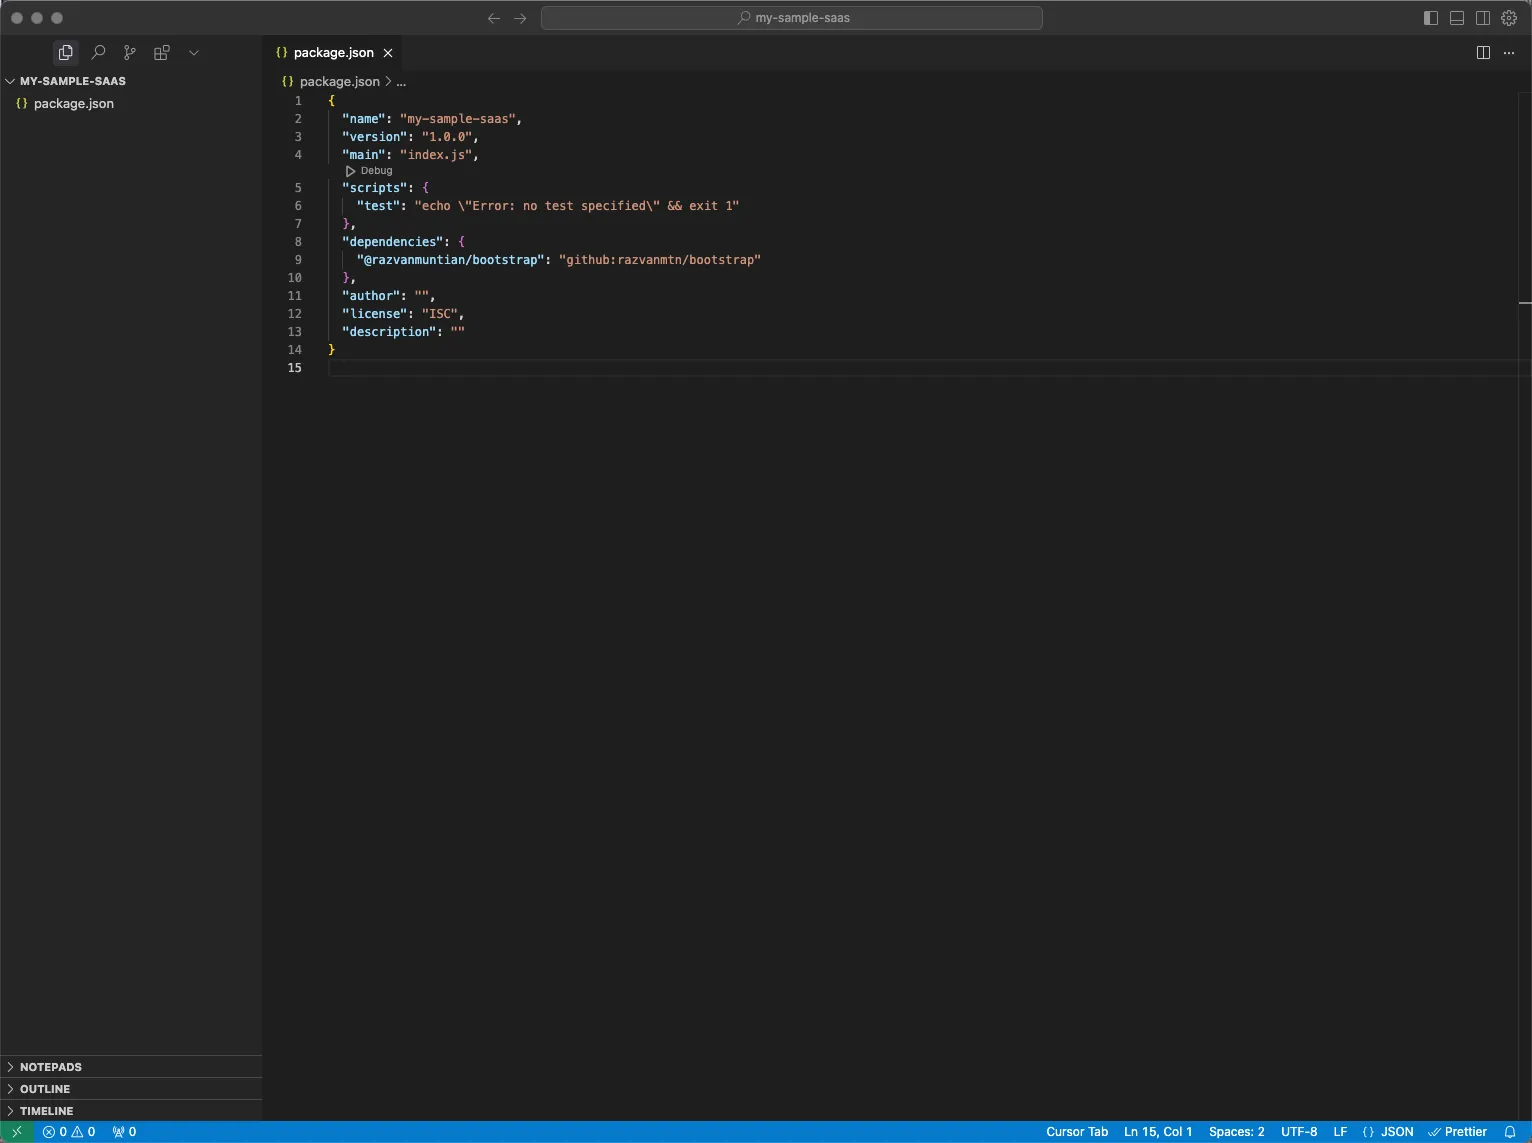
Now let’s open the newly created project. In order to use the library we’ve just created, we need to update the package.json file and add our library in the dependencies. In my case, I’ve added this to the dependencies:
{
	"dependencies": {
		"@razvanmuntian/bootstrap": "github:razvanmtn/bootstrap"
	}
}
Across my app, I want to import the package as @razvanmuntian/bootstrap, that’s why I prefixed the package with my name, but you can give the name in another format.
The important part is what comes after the colon: github:razvanmtn/bootstrap. You should replace this with your Github username and the name of the library repository you’ve just created.
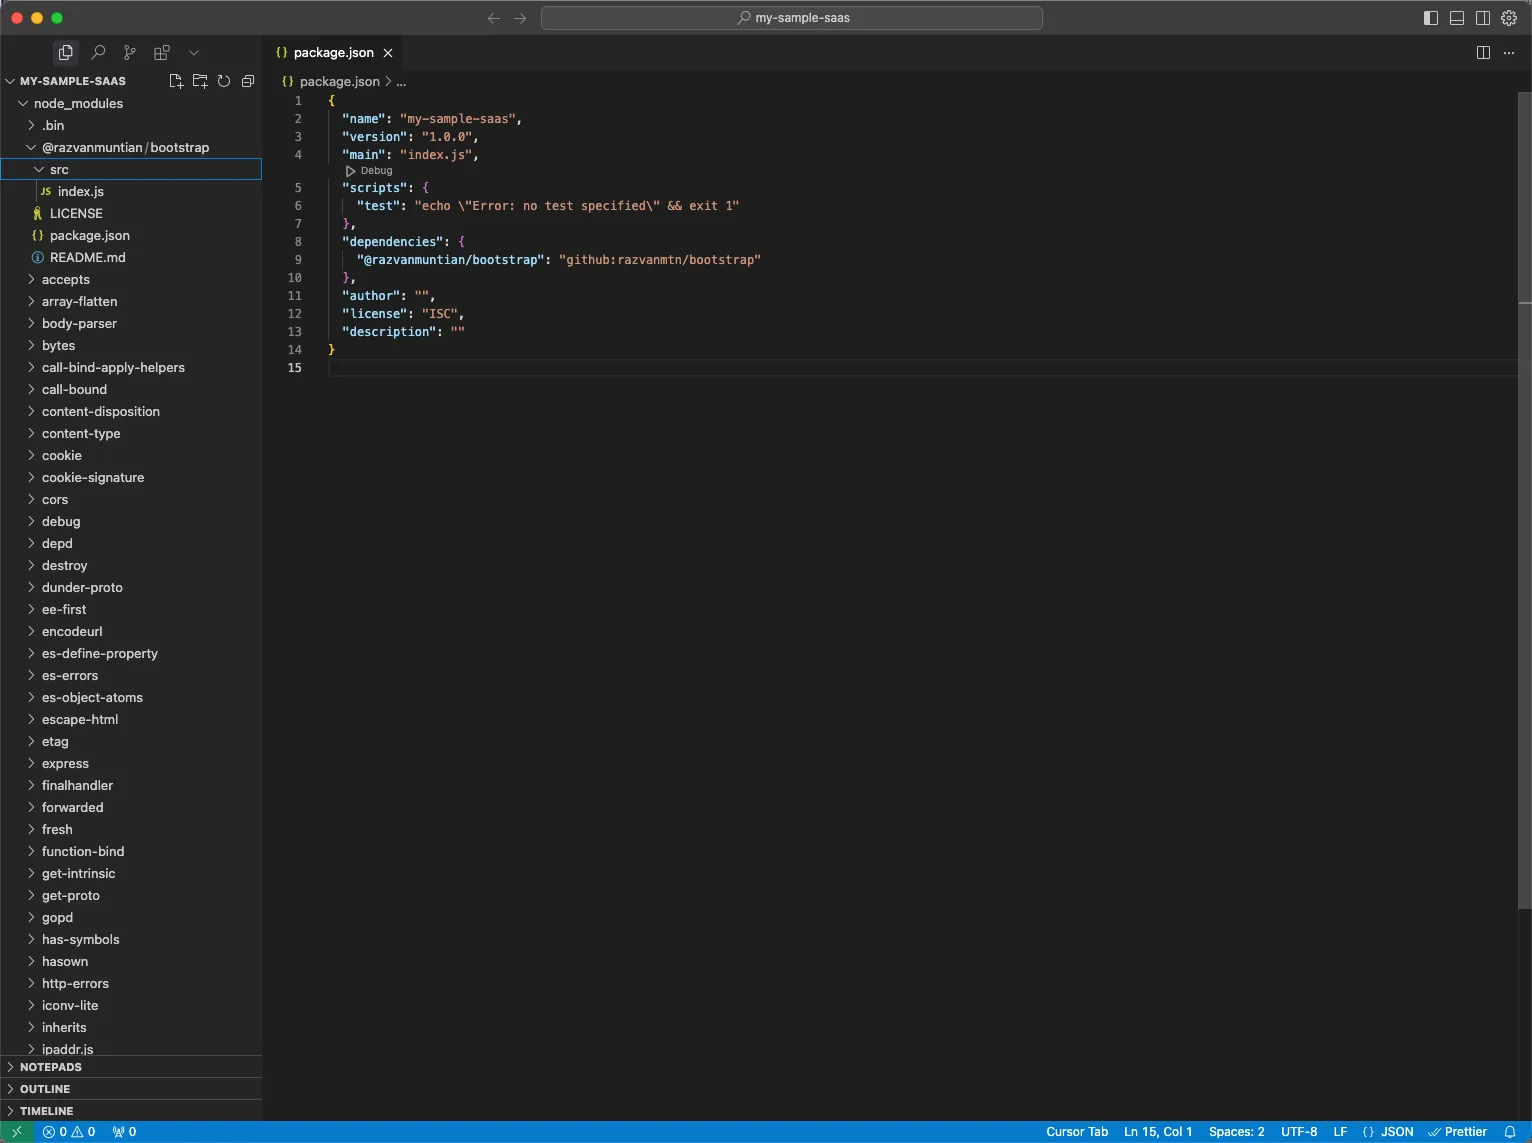
Now, let’s run npm install. If you followed along, you should see the library package in the node_modules folder (like in the screenshot below):
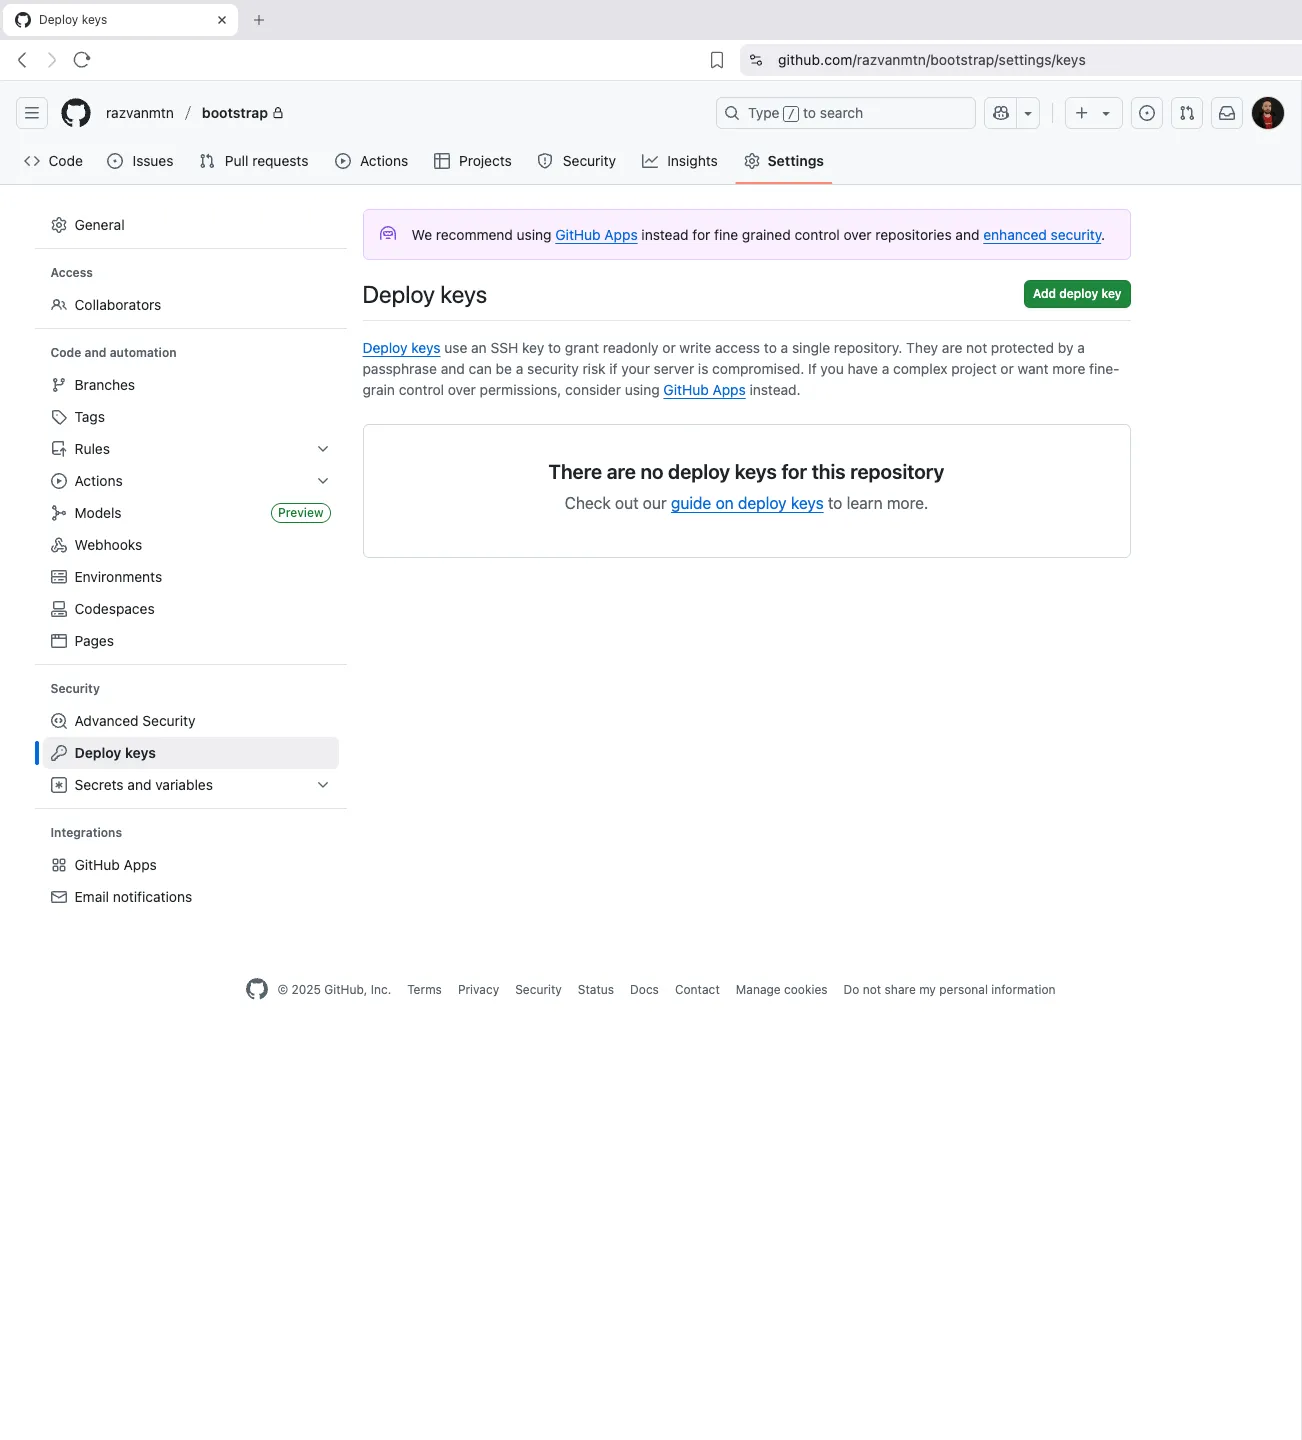
⚠️ Important notice: if you use SSH key in order to access Github repositories, to clone and push changes from your local machine, this step should work flawlessly. However, if you’re trying to deploy your app to a different machine where you don’t have access to your Github account through SSH key, you might have to create a deployment key and use it on the machine you want to deploy the app to. You can do that by going to Github, on the Settings page of your repository. Navigate to “Deploy keys” page and add a deploy key.
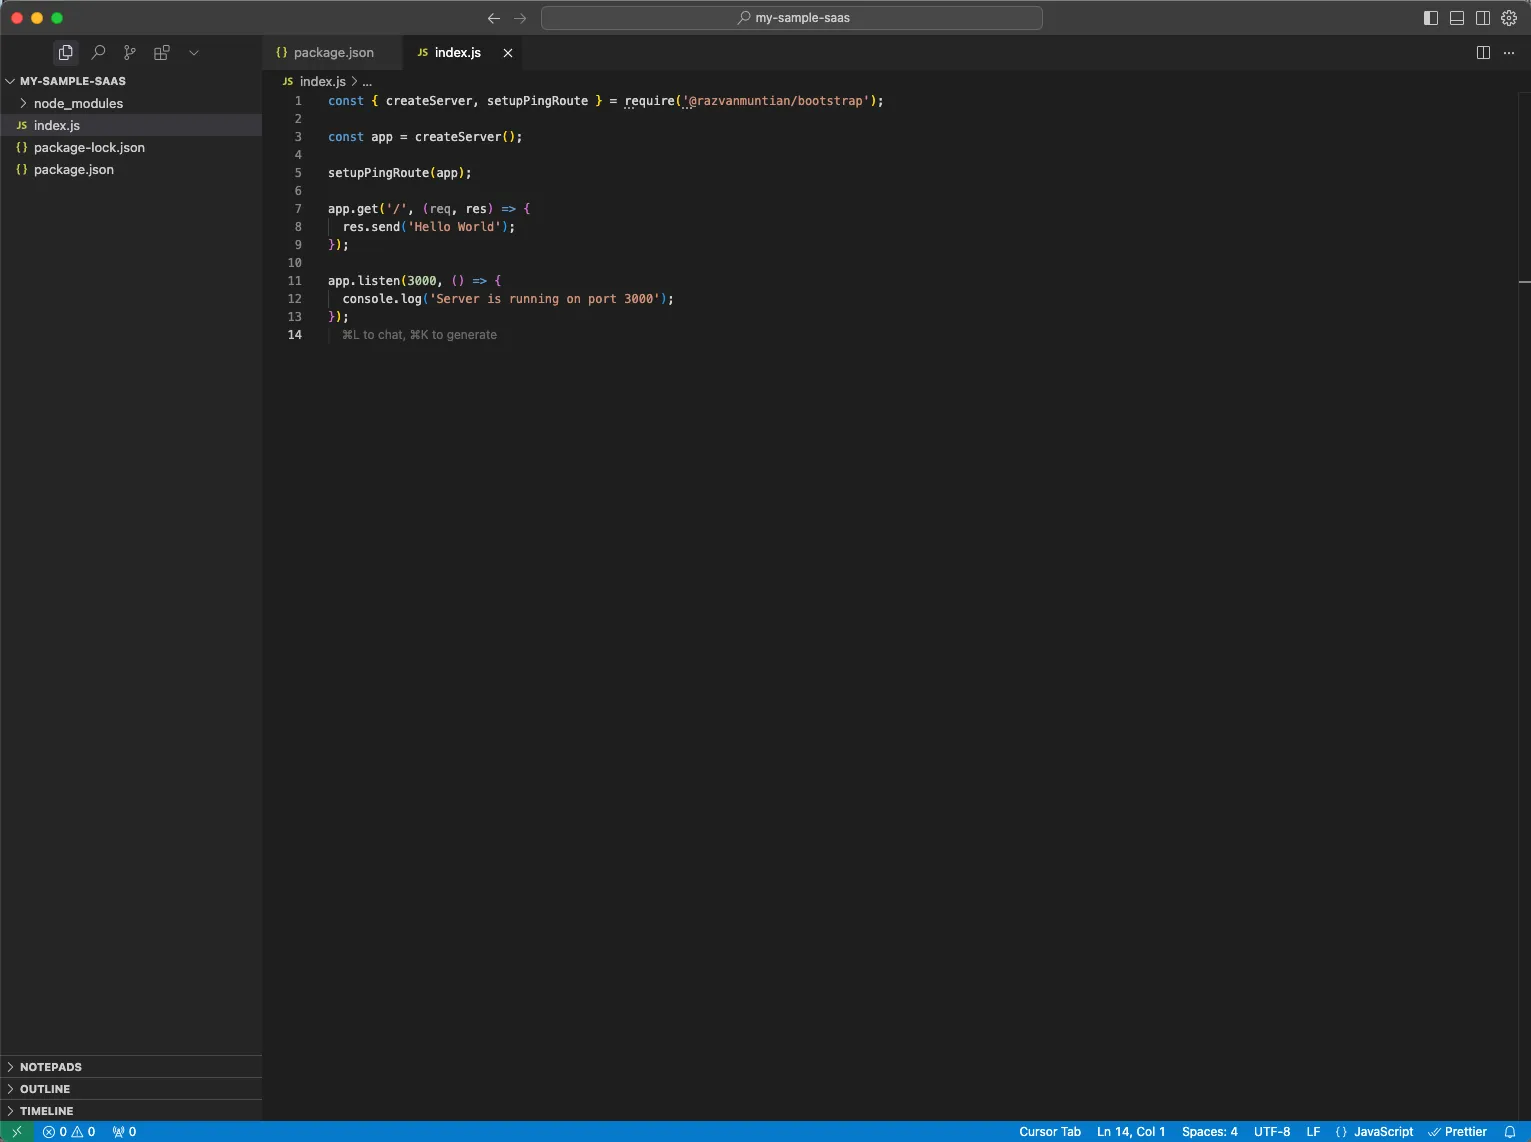
Great! We did some good progress. Let’s now use the createServer utility function from the bootstrap repository in our sample app. Here’s a quick example you can follow:
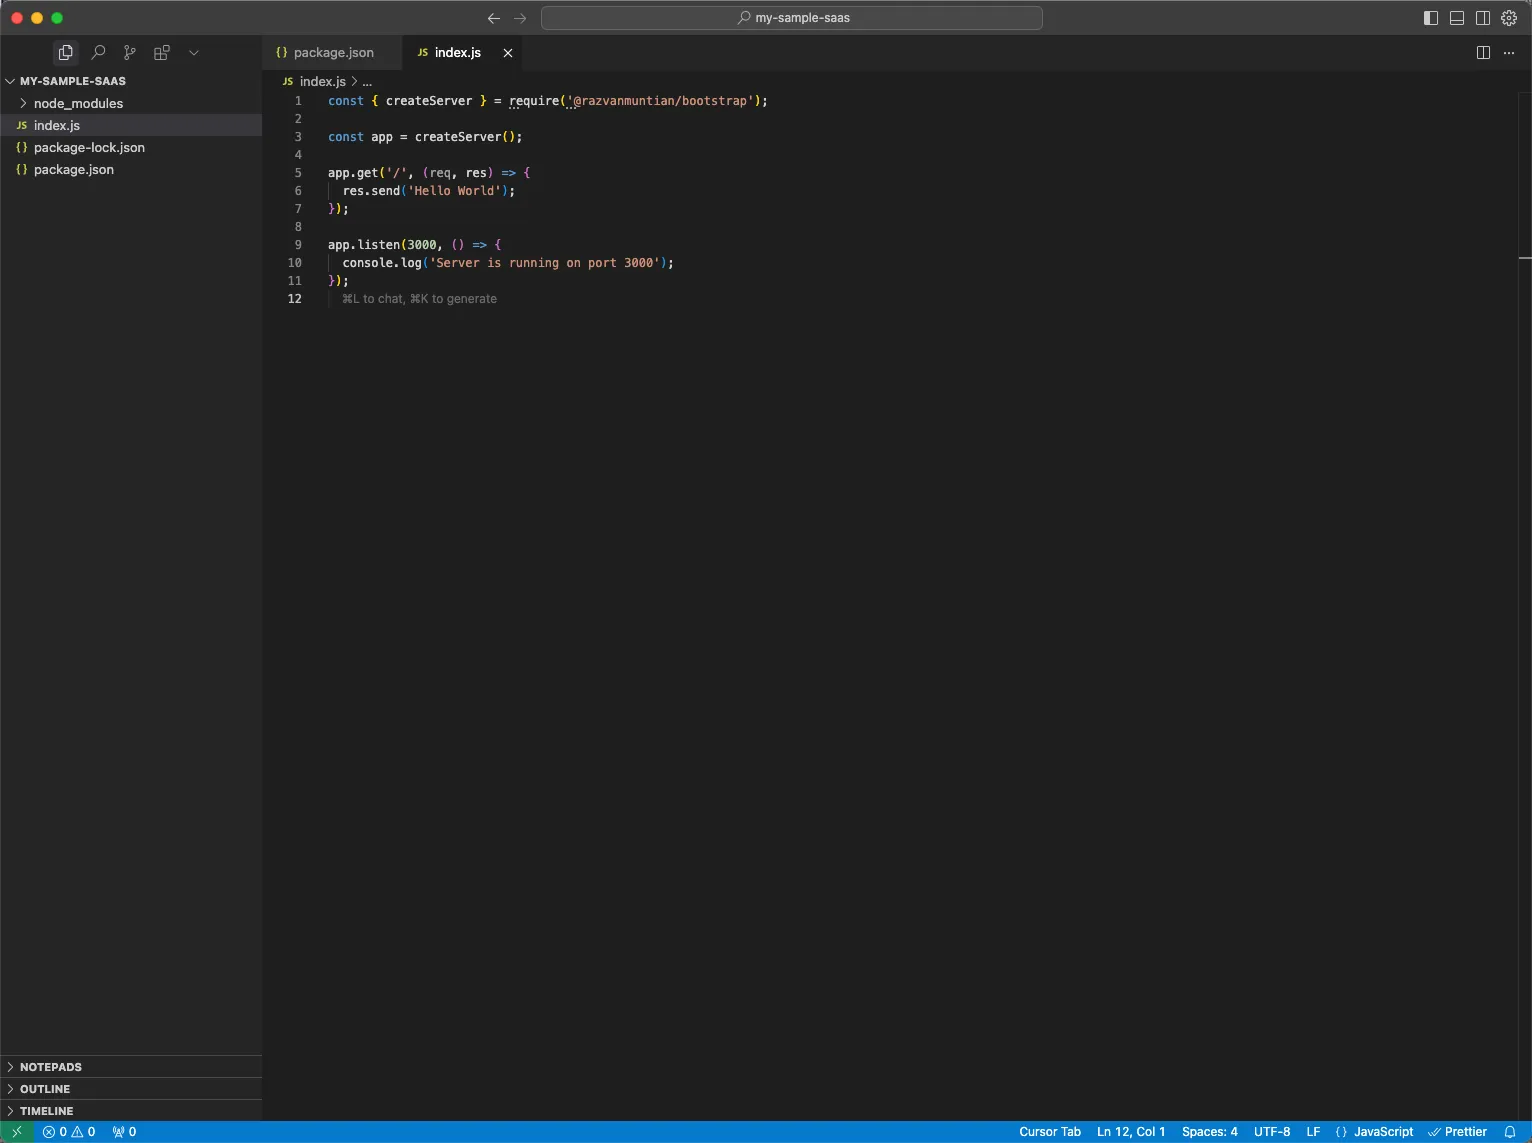
Notice how the utility functions are imported.
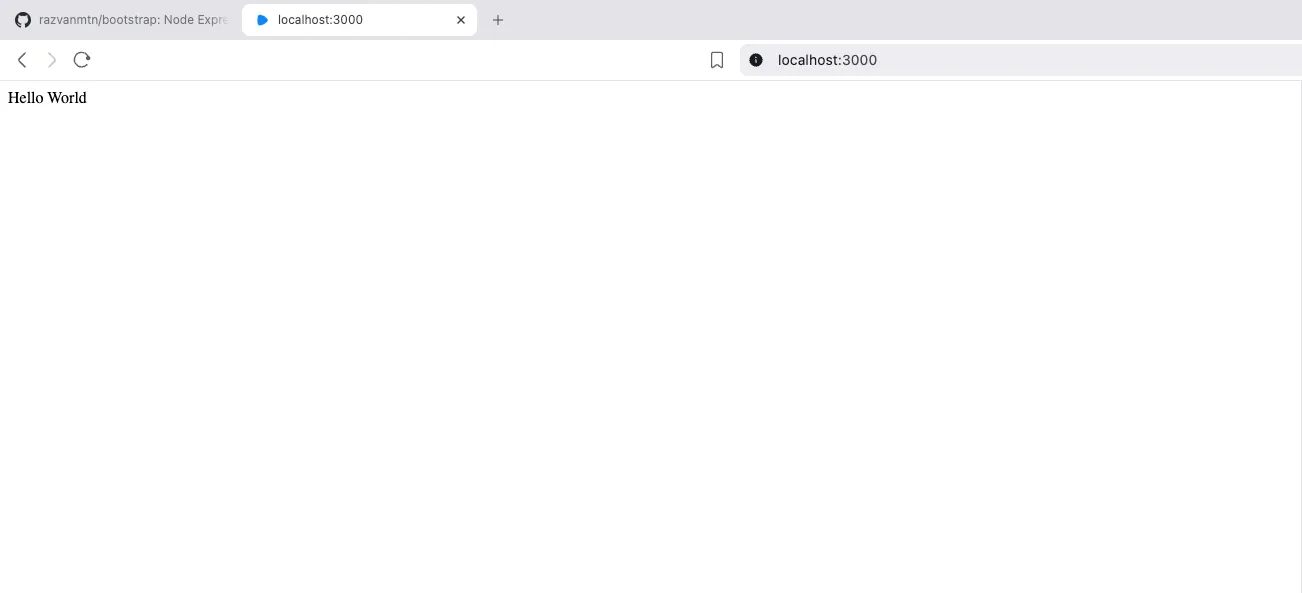
const { createServer } = require('@razvanmuntian/bootstrap');Start the server by running node index.js and you should be able to access the page in the browser at http://localhost:3000.
So far so good. Let’s discuss one more aspect: how can you update the bootstrap library codebase?
Firstly, let’s add the new features to the library. In my case, I’ve added a setupPingRoute function. It receives an Express.js app as parameter and adds a GET /ping route. Make sure to export the function.
The process is as described above: you should commit and push the changes to Github.
To view the changes in the sample app, you need to run npm update for that. Make sure you use the name of the library you use across your project. In my case it is:
npm update @razvanmuntian/bootstrap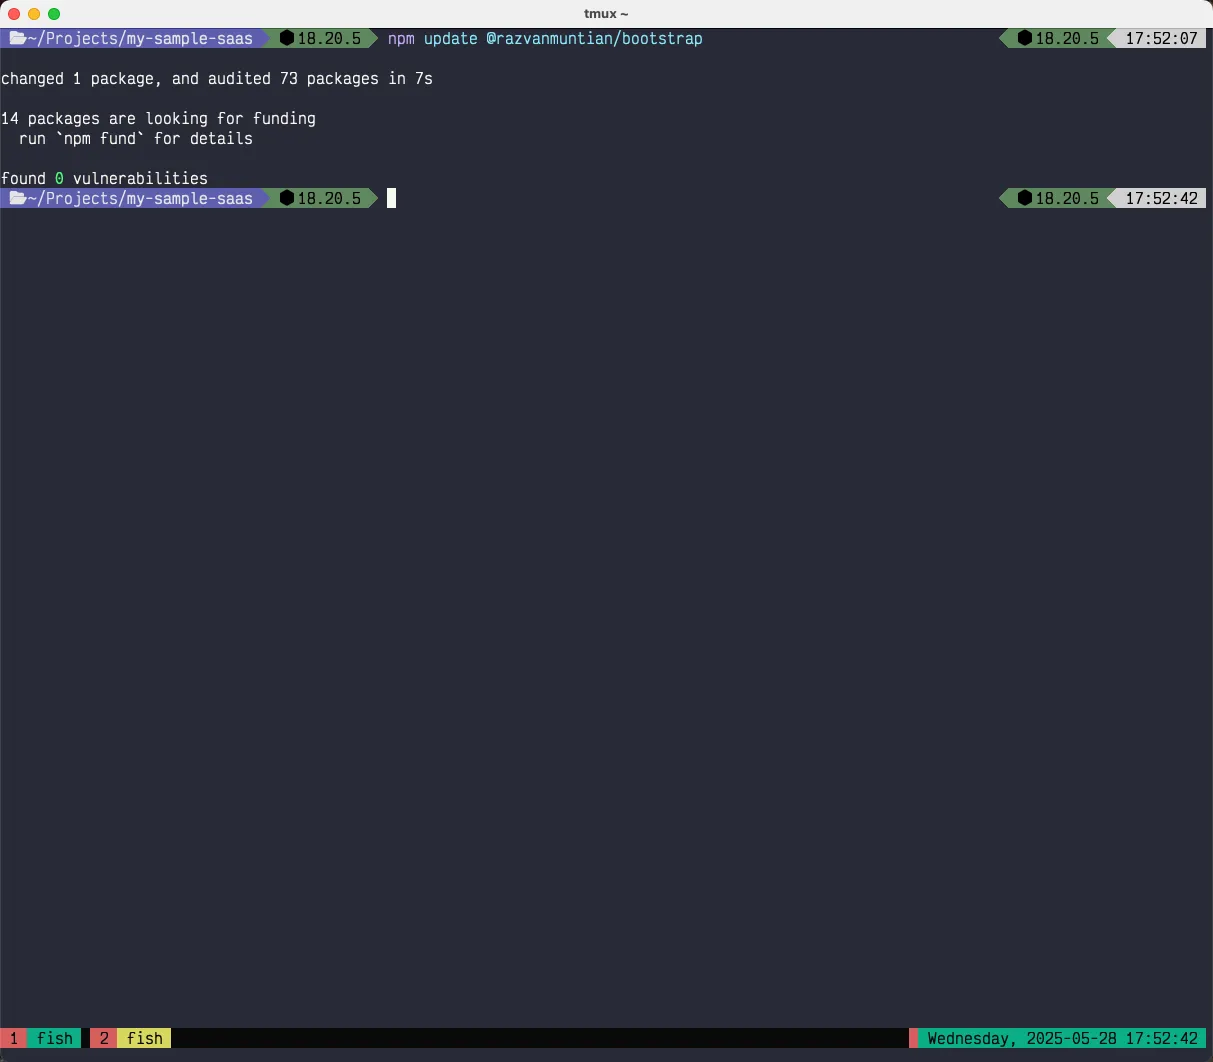
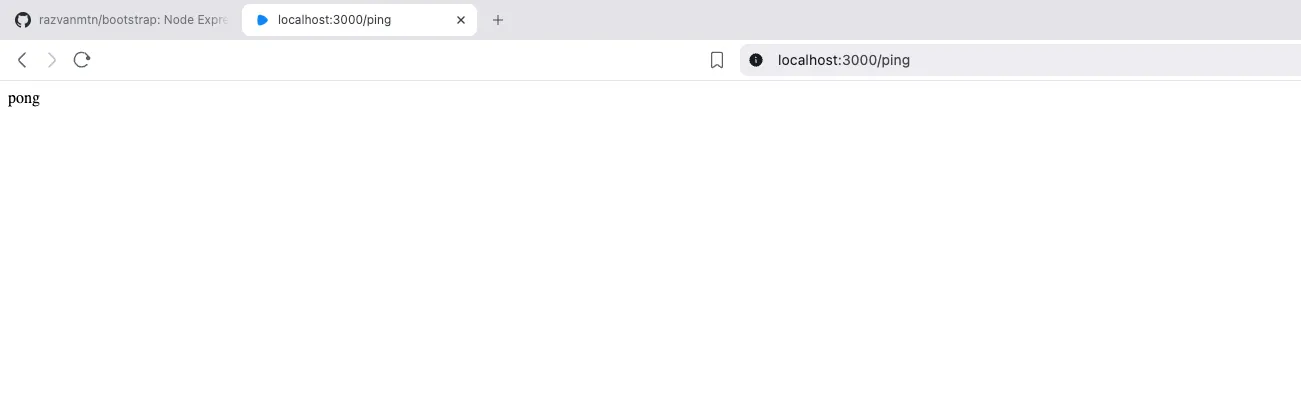
Now let’s change the sample app code and apply the ping route that we’ve just implemented. Here’s the code I’ve just added:
You can restart the server and go to http://localhost:3000/ping and you should receive the pong response back.
Great! We made it till the end.
As I said previously, this method might be for you if you want a quick way to share some utility functions across multiple personal projects. It might not be the best solution for production software, where you might need tests, linting, CI/CD, and all the other features.
Thank you for following this tutorial.
See you soon!
